Wednesday, December 9, 2015
Sugar Skull Two Take
Tuesday, December 8, 2015
Wild Things

First graders were read, "Where the Wild Things Are" and taught lessons on lines and line patterns. We then did a water color resist where students were given freedom to create their own monsters. On the board I gave them several choices for body types, eyes, mouths...etc. They could choose from my examples, from the monsters in the book or create their own. They filled their monsters in with line patterns. and colored them with water colors.


Dragons
Love these colorful dragons! I always like to celebrate the Chinese New Year with a variation of a dragon in the hallway. These are one of my favorites!


Recycled art
Students were given tracers of winter objects, then instructed to cut out strips of magazines to cover the cutout objects. These went great in the hallways during our Trashion fashion show!


Bubble Self Portraits
Student took pictures as if they were blowing bubbles, and used these to create their self portraits. We cut a small hole in the mouth of the drawing and inserted blown up water balloons because they are nice and small, and they were secured with tape on the back. The hallway display was a huge hit, a little two tempting for many students. The bubbles barely lasted a week...it was worth replacing them though. It was so fun!


Bright future self portraits
A twist on the plain old self portrait. I had students take their photo with sunglasses on and draw their self portrait from that image. Then we cut out the lenses of the drawn glasses and they traced the lenses on separate paper. In those outlines they drew images that represented where they see themselves in the future.

Lichtenstein Self Portraits
Students used a carbon copy method from photos we took in class to get the outlines of their faces. We looked at many of Lichtenstein's artworks and discussed colors used, and his famous benday dots. They were only allowed to use primary colors, and black sharpie.


I have a dream
We had a discussion about MLK and what he wanted for this world, and we shared what we wanted for this world. Students were instructed to use color shape and line to create an art piece that embodies these thoughts. It made me happy to look at on the bulletin board with the inspirational quotes from MLK.


Southwestern Cacti
Students in 4th grade learn about he different regions of the US, and I wanted to tie in an art project to this. I came across this lesson and thought they came out so vibrant and beautiful. I had to get in on that! I showed my class a Power Point reviewing the different regions briefly and then focused on the Southwest. We looked at the plant life, weather, landforms and the artwork that is influenced by Mexico, and Native Americans. The class really enjoyed creating the cacti and the patterns on the pottery. We discussed warm and cool colors and I made them choose between a cool color scheme or warm color scheme for the sky. They used tempera cakes to create the "sky". Then on a separate paper they created the potted cacti with pencil, then black sharpie and finally colored with tempera cakes. Once dry they cut it out and glued it to their sky background. I had never used tempera cakes before this, next time I will have them use less water so the color come out brighter.


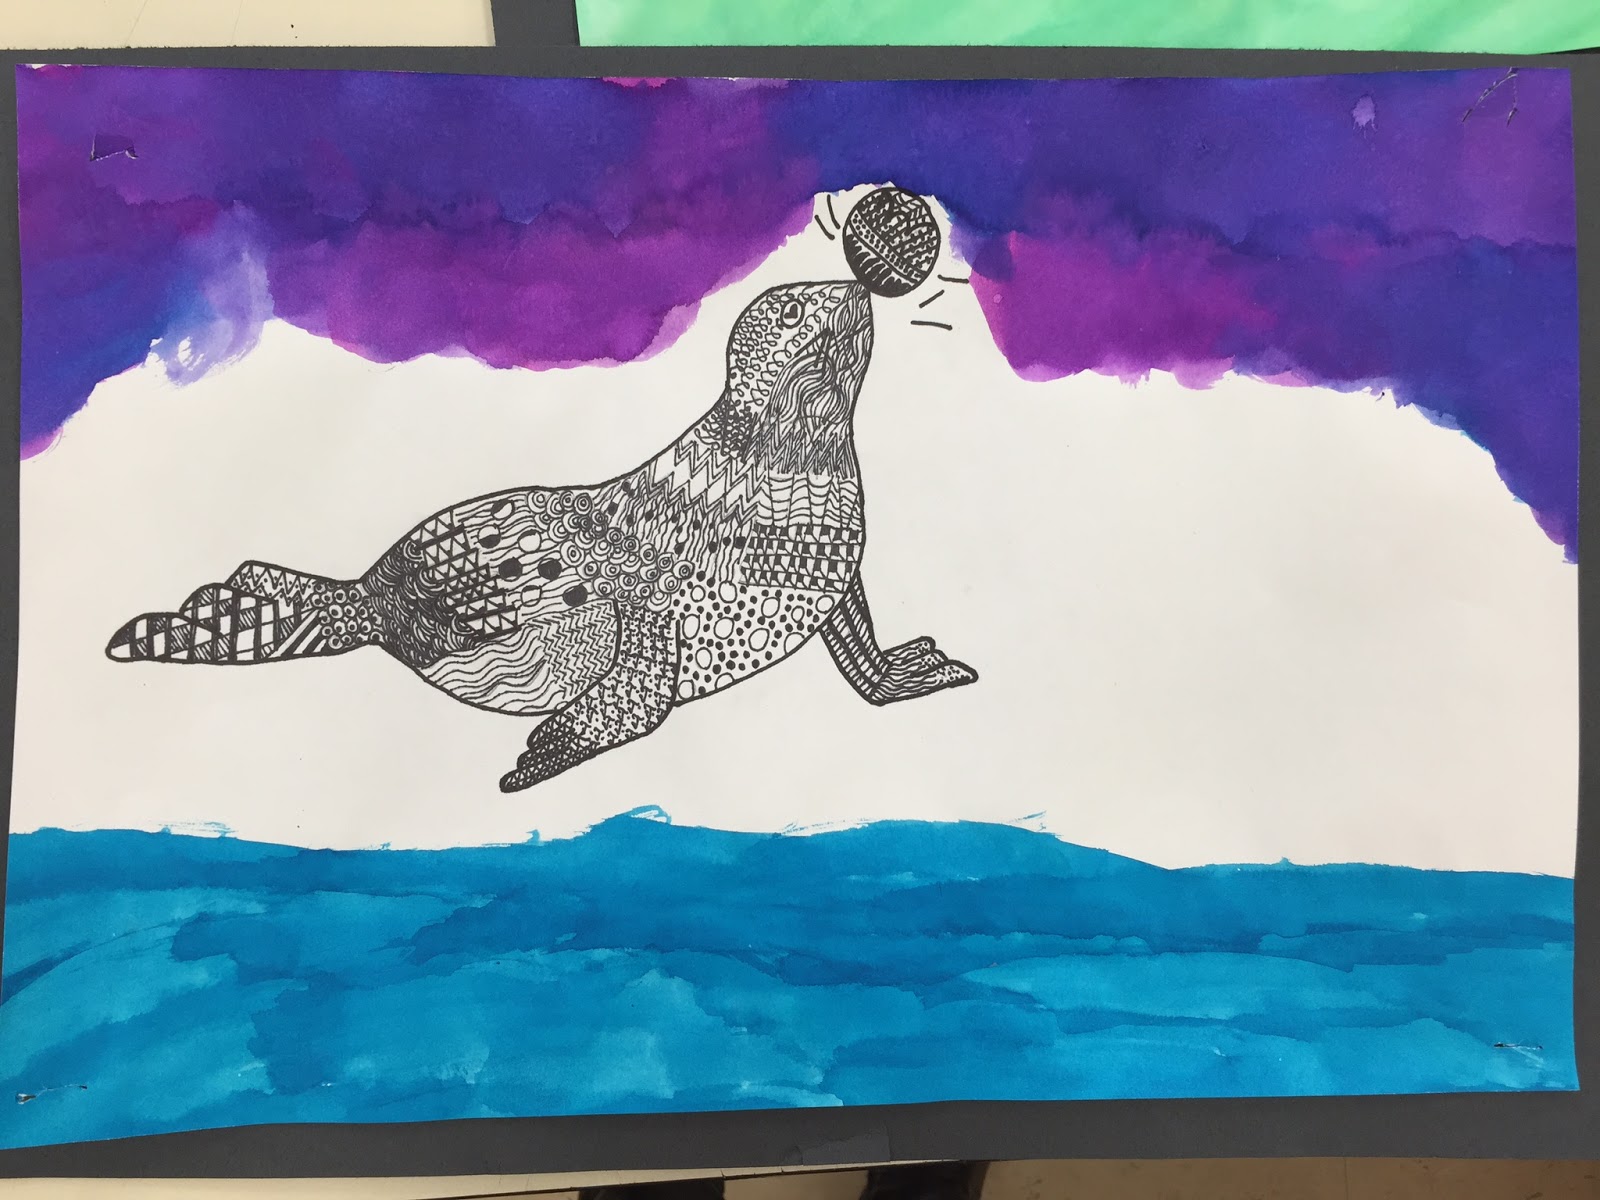
Zentangle Animals


Color Wheel Lesson
Color Wheel
8th grade students are given the assignment to create the entire color wheel using only primary colors and black and white. They are required to have 4 sections within each fraction of the color wheel. One for the color, one for it's tint, one for it's shade and one for the compliment. They are encouraged to get creative with their designs, and I have to say they come out beautiful. I am in love with how they look up on the walls! I have them trace over each section with a king size sharpie to cover any uneven painted edges. This lesson was inspired by the lesson on this site.


Paul Klee Castles
I found a variety of these types of lessons on Pinterest, but most were crayon resist. I do a enough of that with the younger grades, so I wanted to switch it up a bit to give students a chance to use oil pastels instead. So for this activity we look at a power point that shows several examples of Paul Klee's work, and we discuss common themes. We learn a little about his life with a very short bio, and then I end on this picture of his "Castle and Sun" painting. We then discuss what shapes we see, and their likes and feelings towards his work. Students are then given white crayon and brown construction paper. they are instructed to make tall, short, wide and thin rectangles that start on one side of the page and continue to the other. Then within each rectangle they can add other shapes and horizontal lines to cut their rectangles into smaller pieces. They are encouraged to be creative and add details that make it their own. Once this is completed they then work on adding oil pastels. We practice coloring inside the lines and filling in the whole shape being sure not to leave any spots without color! My second graders love this project and I really love the way they come out!


Thursday, December 3, 2015
Famous Failures
Students in my middle school enrichment group were introduced to x-acto knives in this project. We discussed safety and proper use before anything. Once that was completed, I had students choose a celebrity of their choice and research ways that they struggled and overcame or failed and were resilient. Students wrote a short paragraph explaining these "failures" We then found pictures of these celebrities online and used Photoshop to posterize them. Students cut out the white, gray and black sections of the photo with the matching color paper underneath it. There is a much better explanation of how to do this here. These really came out awesome, i am so proud of their hard work and love the way this bulletin board sent such a great message during MCAS season which can feel very stressful and heavy at times!


Subscribe to:
Posts (Atom)